My Lockdown DIY Project- Restoring the ‘Bench from the Bush’
One of my favourite memories as a kid is playing in the garden at my Grandmother’s beautiful Edwardian home in Muswell Hill, North London. Its one place I loved so much that it still pops up in my dreams from time to time. My Grandmother (Or Omi as we called her) was a beautifully elegant lady with traditional and conservative taste that reflected her love of London and her German Heritage. She bought well and she bought to last.
Many happy afternoons were spent playing with my cousins in the garden and when we’d had enough, we’d plonk on her benches and drink cold lemonade (it was SUCH a treat to have bubbles!). I can remember the benches so clearly; the shiny white arms and the gorgeous cushions she had made to sit on, legs swinging. I am such a sucker for a bit of nostalgia. I’m also an enormous fan of filling your home with things that remind you of happy times gone by that give you gorgeous stories to tell about your home and family’s history.
SO I’m getting carried away, but I hope that intro goes some way in explaining the ridiculous excitement I felt when we pulled an old rotten bench from the overgrown bushes at the end of our garden last year. The bench was in a dire state and needed a lot of love but I convinced hubby not to throw it in the skip and worked out my grand plan for bringing a little bit of Omi’s garden to my home in Sussex.
The biggest mistake I made renovating the garden bench was that I started when I didn’t have time to finish last year, which meant the whole project took a lot longer than it needed to. Rob bought the wood almost straight away - just some very simple 4 x 2 which he had cut to size in B&Q where he also bought some smart stainless steel screws. I excitedly replaced the wood in the bench and then left it outside for a whole winter. Stupidly without treating the wood it had started to rot but could be salvaged with a good sand - it just shouldn’t have taken so long.
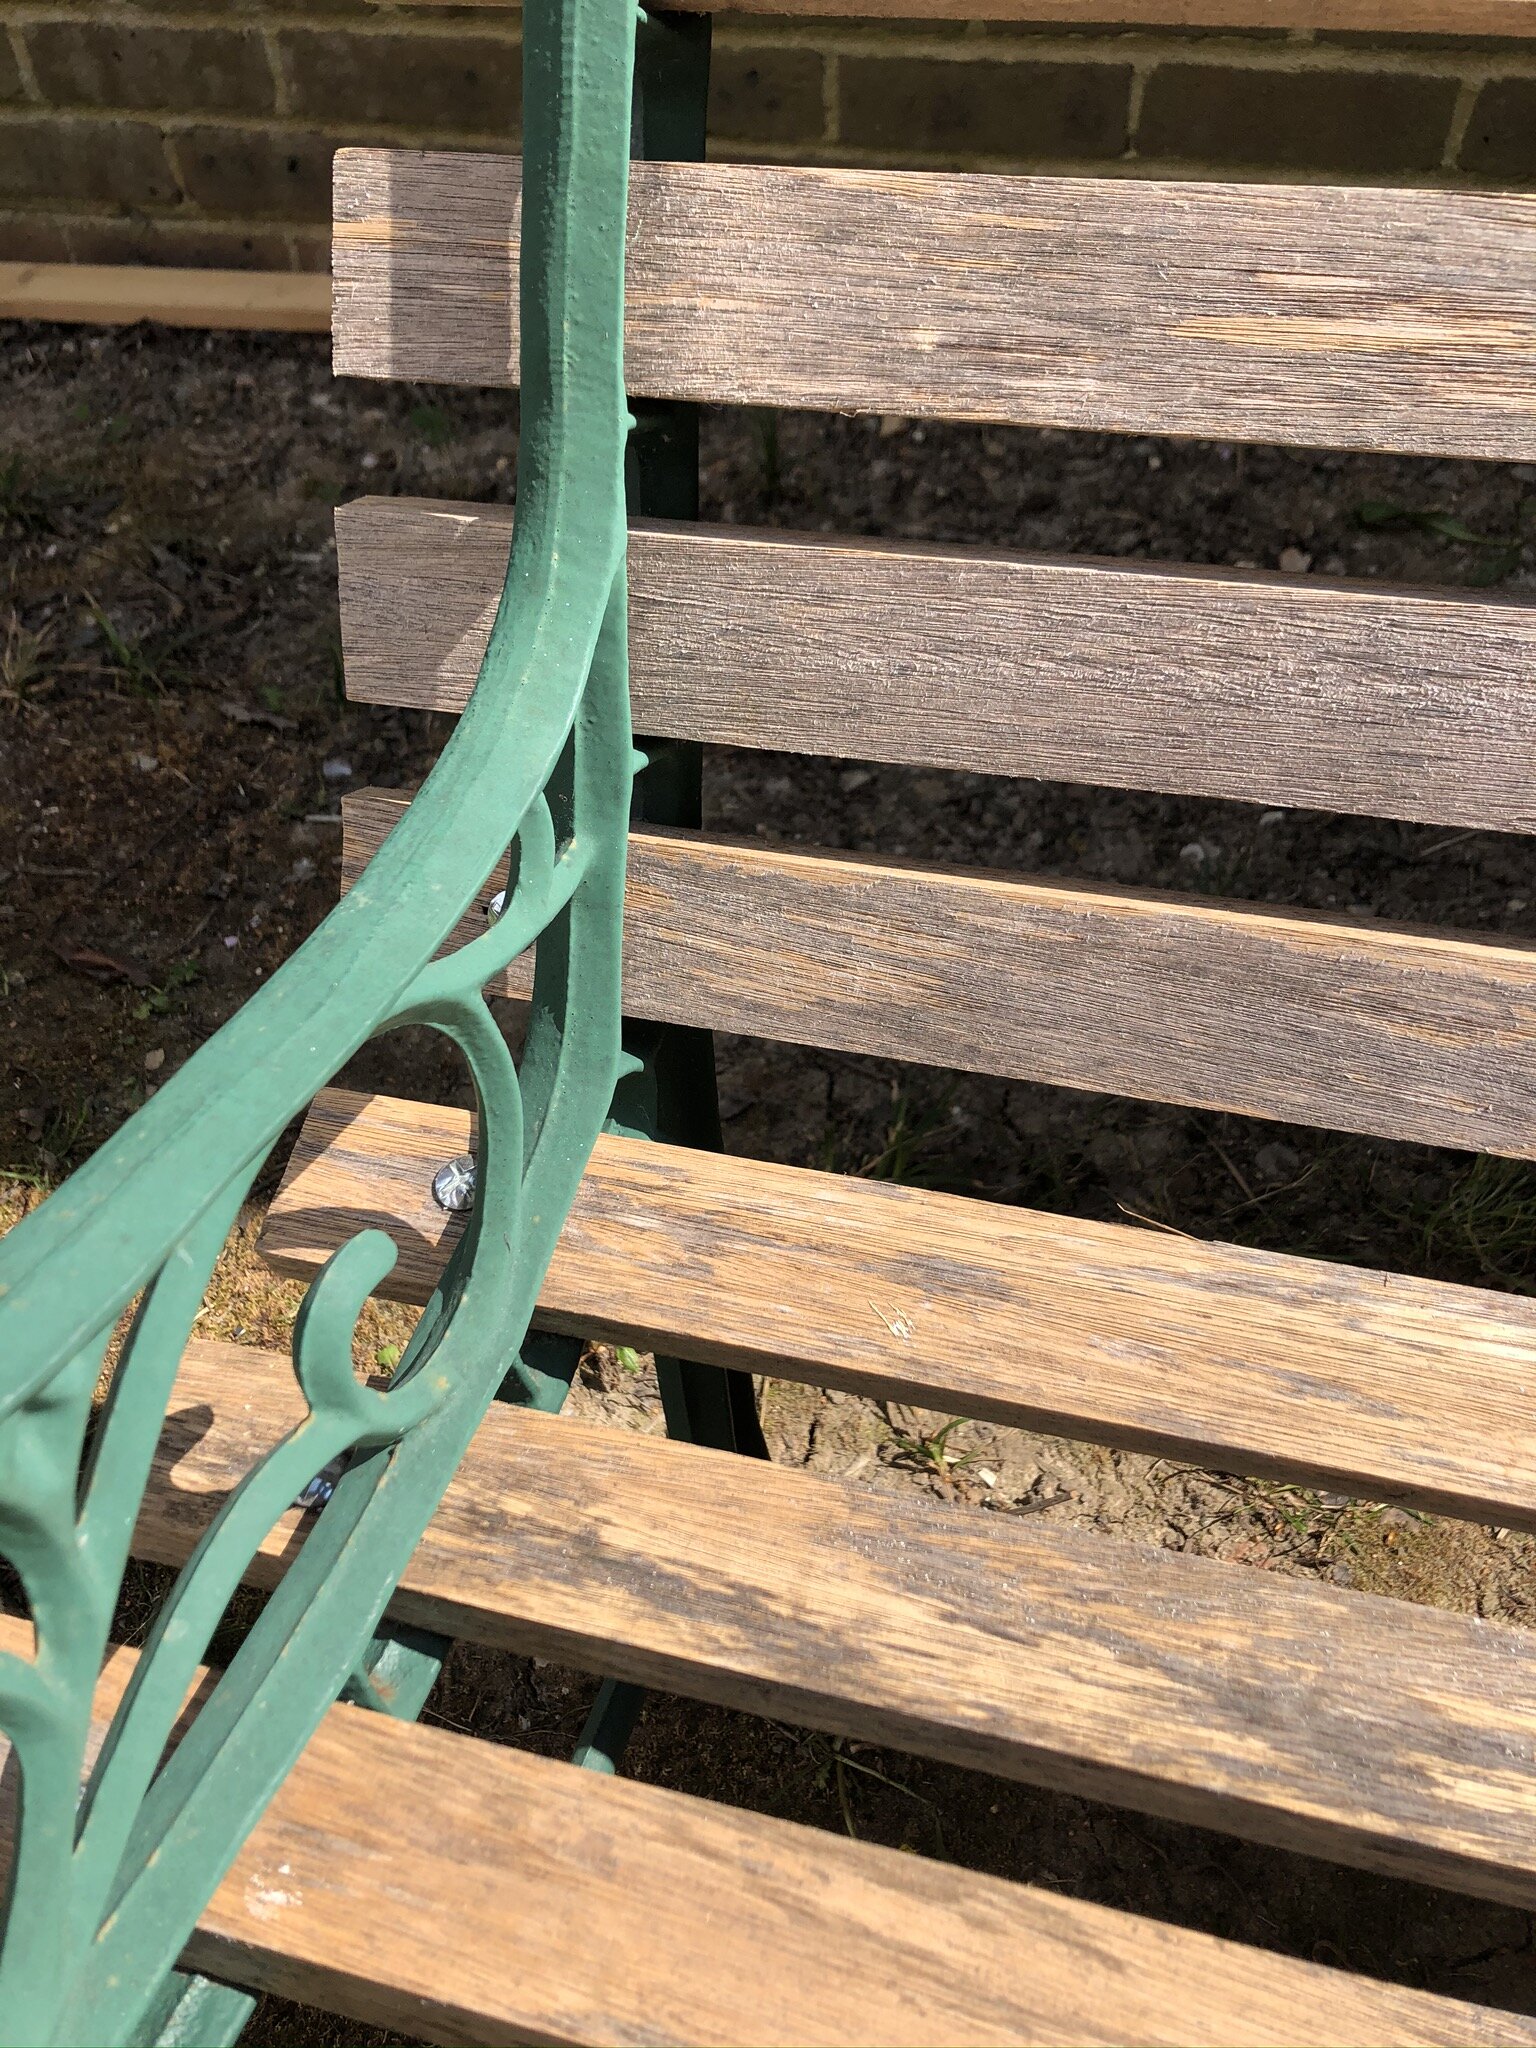
Other than that it was fairly plain sailing. I removed the wood and used a simple electric sander to sand all sides of the wood and bevel the edges of each corner to give it a more finished look.
Just the sanding made a huge difference. For anything wooden that you’re planning to use outside, its really important to make sure you treat the wood properly to stop it rotting, getting wood worm and to keep it waterproof.
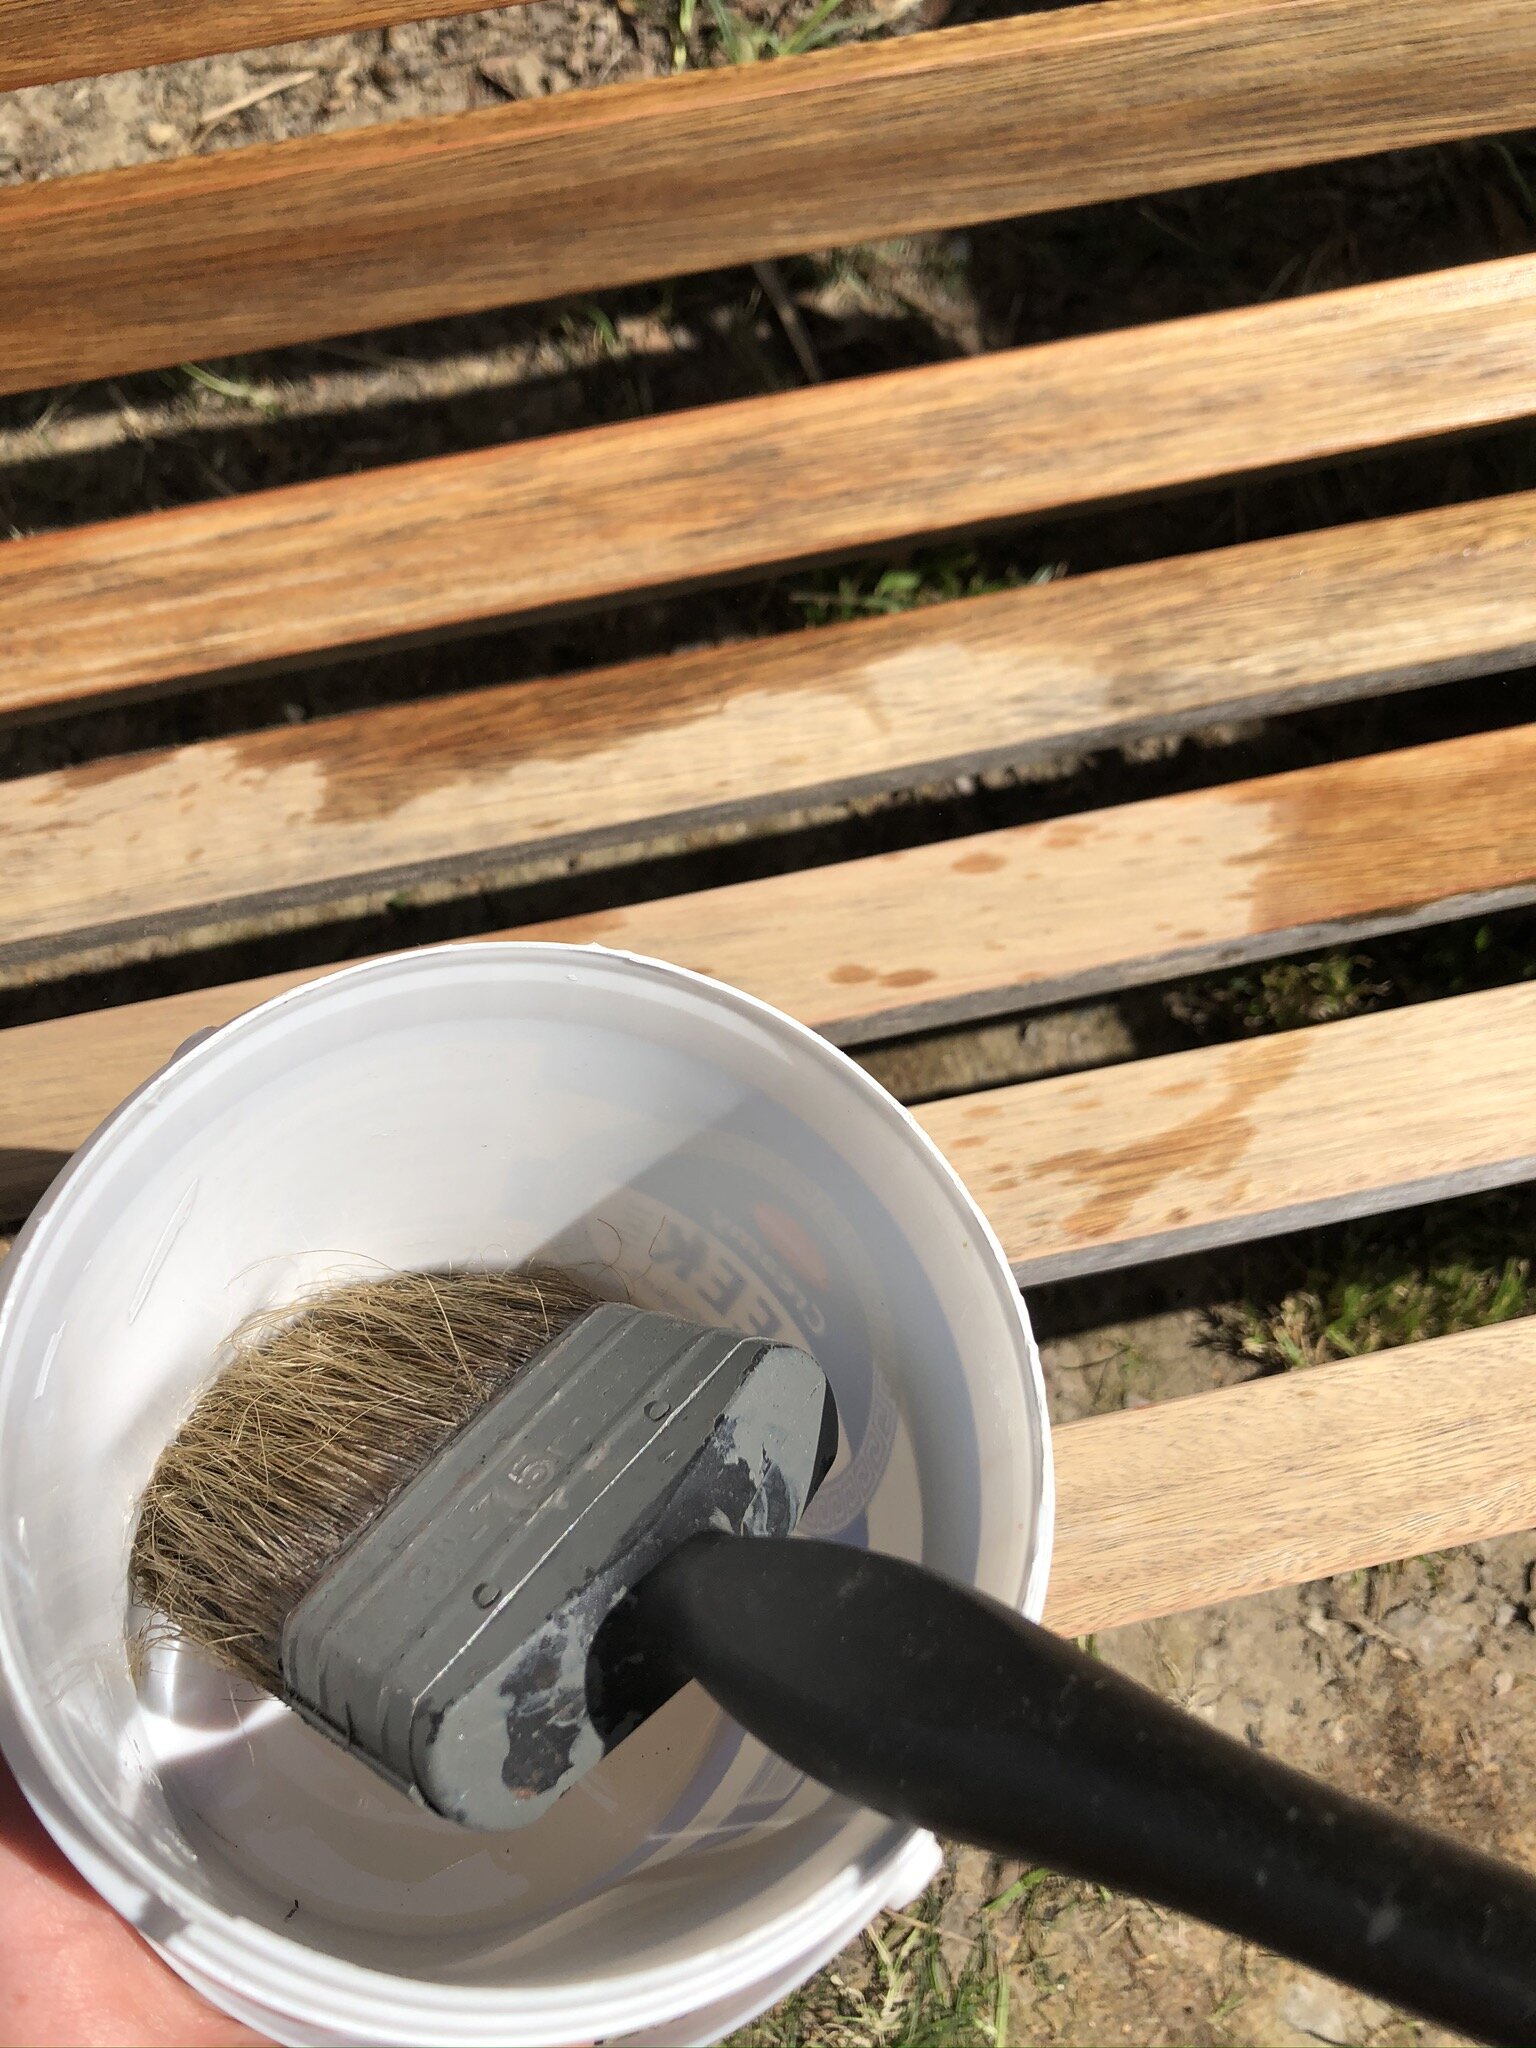
Firstly I treated the wood with Ronseal Total Wood Preserver. It’s super easy to use, it’s a bit like brushing nail varnish remover on the wood.
For the bench I really didn’t want it to grey straight away, I wanted to protect it as much as possible. My Father in Law was a boat builder and has always taught me to use Yacht varnish which we used on an outdoor cabin and worked really well. It dries in 8 hours but I left a day in-between the two coats. Like any varnish it’s quite sticky if it drips but it’s lovely to work with, I’d really recommend it. I was careful not to put it on too heavily as it can leave drip marks or set too thickly.
While that dried I got started on the metalwork. Firstly it needed a damn good clean just with warm water. Then I gave it a brush down with a wire brush, like sanding for wood, giving a good surface for the first coat. Then another wipe down to get rid of the residue. The old paint was quite porous so I left it in the sun for an hour or so just to make sure it was properly dry before I started painting. I used Hammerite Metal Paint which I already had from a previous project and never used. It’s not the easiest to work with, it’s a really thick oil based paint. But once I got the hang of it, being really careful not to let it drip, I was really pleased with the results. Painting from dark green to white I needed three coats, but I’m glad I did as the finish is excellent.
After 2 coats starting to see how it will look
As the paint is so thick you can work in the drips as you go
I left the whole thing for a couple of days to dry properly before I went near it. I held it together with one piece of wood and a bit of luck! Putting it back together was a lot easier than I thought it would be - I put each screw through loosely and when they were all in place and the ends of each wooden plank were level I tightened them up.
The whole thing was a one man job. Well hubby of course helped but it could have easily been a one man job. I’m super proud of it and it reminds me of my lovely Omi every time I sit on it. I’ve positioned it perfectly in the garden to be my ‘first glass on a Sunny Friday’ spot and I couldn’t be happier.
These cast iron benches, or very similar seem to be really popular on Facebook Market Place and Ebay and I’ve seen a few of them being offered recently for free for restoration projects. It’s really not a tricky job at all, a very minimal investment and the classic style works really well with any style of garden. In fact, the vintage style works really well with our more modern rattan furniture.
I know a lot of people are rushed off their feet in lockdown, and we’re hugely grateful to the amazing people looking after us all. I also know that for a lot of people being able to start and finish a project at the moment and see the results of something you have achieved feels really good when everything else is so up in the air. For me, it was something I did for a few hours over the weekend and finished one evening and I loved it. It’s my first dabble in garden furniture restoration and I’m pleased as punch with the results. Now I’ve got my eye on an old table and chairs in the shed…watch this space!
Tool List:
Scrubbing brush or cloth
Wire brush or wool
Screwdrivers and spanners
Paint Brushes
Note: I have not been paid to advertise any of these products - I am recommending them simply because I like them!


